To start using ezActions, follow these simple steps to install the plugin and activate your license.
System Requirements
- Adobe Photoshop: Version 25.0.0 (Photoshop 2024) or higher is required.
- Internet Connection: Required for the initial activation and periodic license checks.
Step 1: Download & Install
- Download: Log in to your account at The Orange Box – My Account and download the
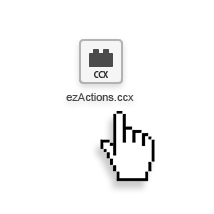
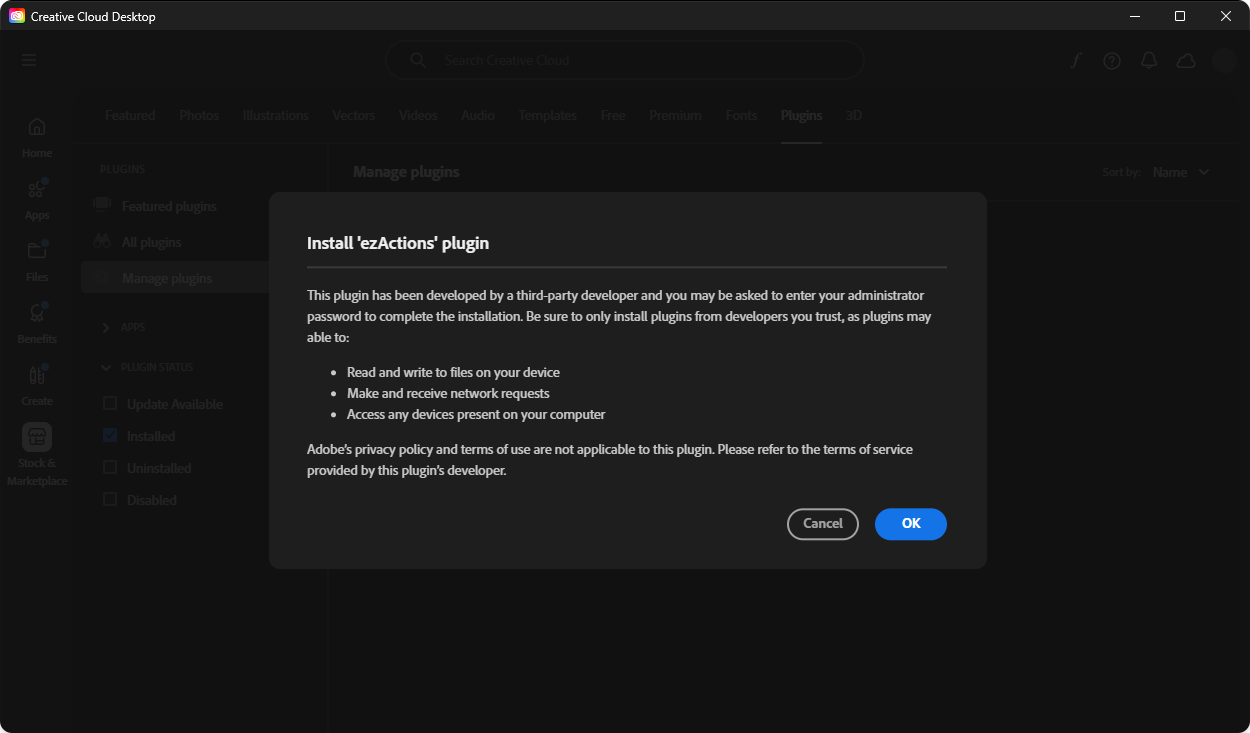
.ccxplugin file. - Install: Double-click the downloaded
.ccxfile. - Creative Cloud: The Adobe Creative Cloud Desktop app will open automatically. Click “Install” (or “Install Locally”) and follow the on-screen prompts.
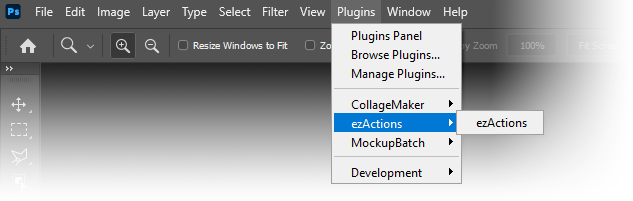
- Launch: Open Adobe Photoshop. Navigate to the top menu and select Plugins > ezActions to open the panel.


Step 2: License Activation
When you open ezActions for the first time, you will see the Login screen.
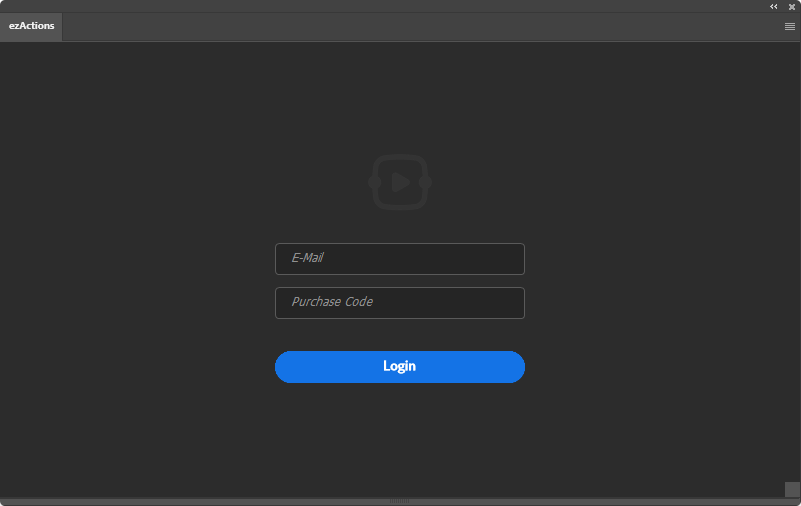
- Get your Serial Number: Go to your The Orange Box – My Account page to find your Serial Number (Purchase Code).
- Enter Credentials:
- Email: Enter the email address used for your purchase.
- Purchase Code: Paste your Serial Number into this field.
- Login: Click the Login button.
Once activated, your license is valid for offline use for up to 7 days before the plugin needs to verify the status online again.
Troubleshooting
- Missing Plugin: If you don’t see ezActions under the Plugins menu, ensure you are using Photoshop version 25.0 or newer.
- Login Errors: Double-check that there are no extra spaces when copying your Serial Number from your account page.
- Version Warning: If you import a workflow and see a “Version Mismatch” alert, it simply means the workflow was created with a different version of the plugin. You can usually click “Open” to proceed.