Once you have built a great automation, you might want to back it up, move it to another computer, or share it with your colleagues. The Import and Export functions in the Workflow Manager make this easy.
Exporting a Workflow (Backup & Share)
Exporting saves a selected workflow as an .ezactions file on your computer.
- Open the Workflow Manager: Make sure you are on the main overview screen where all your workflows are listed.
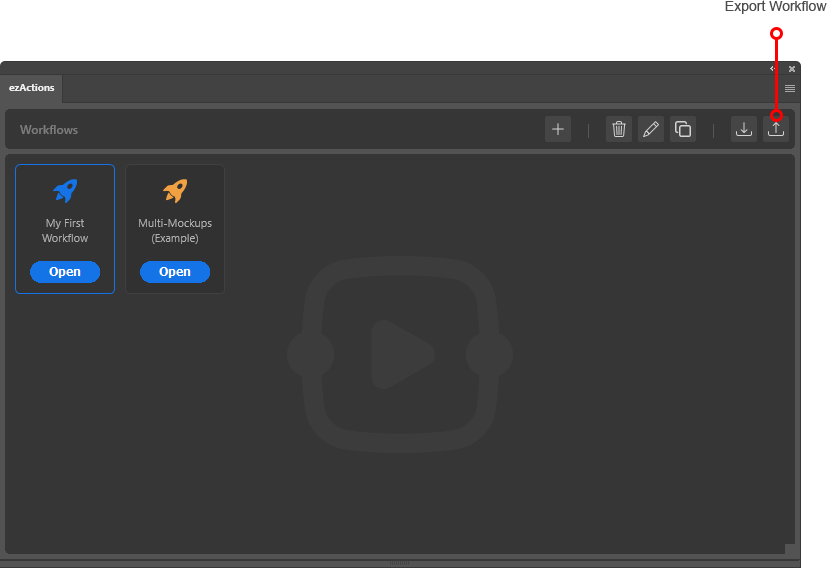
- Select a Workflow: Click once on the workflow tile you want to export. The selected workflow will be highlighted with a blue outline.
- Click Export: Click the Export icon (the tray with the arrow pointing up) located in the top right area of the toolbar.
- Save the File: Choose a location on your computer to save the
.ezactionsfile. You can now store this backup or send it to anyone using ezActions.
Importing a Workflow (Loading)
Importing allows you to bring an .ezactions workflow file from your computer into the plugin.
- Open the Workflow Manager: Go to the main overview screen.
- Click Import: Click the Import icon (the tray with the arrow pointing down) in the top right toolbar.
- Choose the File: Select the
.ezactionsfile from your computer’s hard drive. - Success: The imported workflow will immediately appear as a new tile in your Workflow List, ready to be used.
Troubleshooting: “Version Mismatch”
Sometimes, when you import a workflow shared by someone else (or an older backup), you might see a yellow “Version Mismatch” warning.
- What it means: The workflow was created with a different (older or newer) version of ezActions than the one you currently have installed.
- What to do: In most cases, you can simply click “Open” to proceed. The plugin is designed to upgrade older nodes automatically. Always make sure you are running the latest version of ezActions for the best compatibility.